

Every year, I LOVE to decorate my notebook covers, especially if they're plain notebook covers. But I wanted something simple so I can repeat for like 5+ notebook covers. I'm VERY picky about my notebooks. I feel like some notebooks have super thin paper (I don't like) and I won't use cardstock-cover notebooks because they tear super easily (especially when you're sliding it in and out of your locker constantly). So I always stick to plastic covers. However, drawing/painting on plastic covers never seems to work. So, I thought of this DIY. There's probably 1 key component... maybe 2. So I'd like to share this with you! (Hey, that rhymed!)

Supplies:
1. Mod Podge (to seal the paper/decoration/label that you'll be making so that it can look glossy AND keep the paper from scratching and look duller as times go by)
2. (Optional) Glitter Glue
3. Scissors
4. A cheap paint brush to apply glue the Mod Podge and glitter glue with
5. A Permanent Pen/Marker if you want to write/draw on the decoration
6. LABEL PAPER (I used the Full sheet type, not the small labels. The full sheet ones are like printer paper and a super large paper sticker. It's basically a paper-sized label). I used the Avery 5353 type. (Click here to buy)
7. A notebook
8. Printer to print the pattern/design onto the label
Let's start!
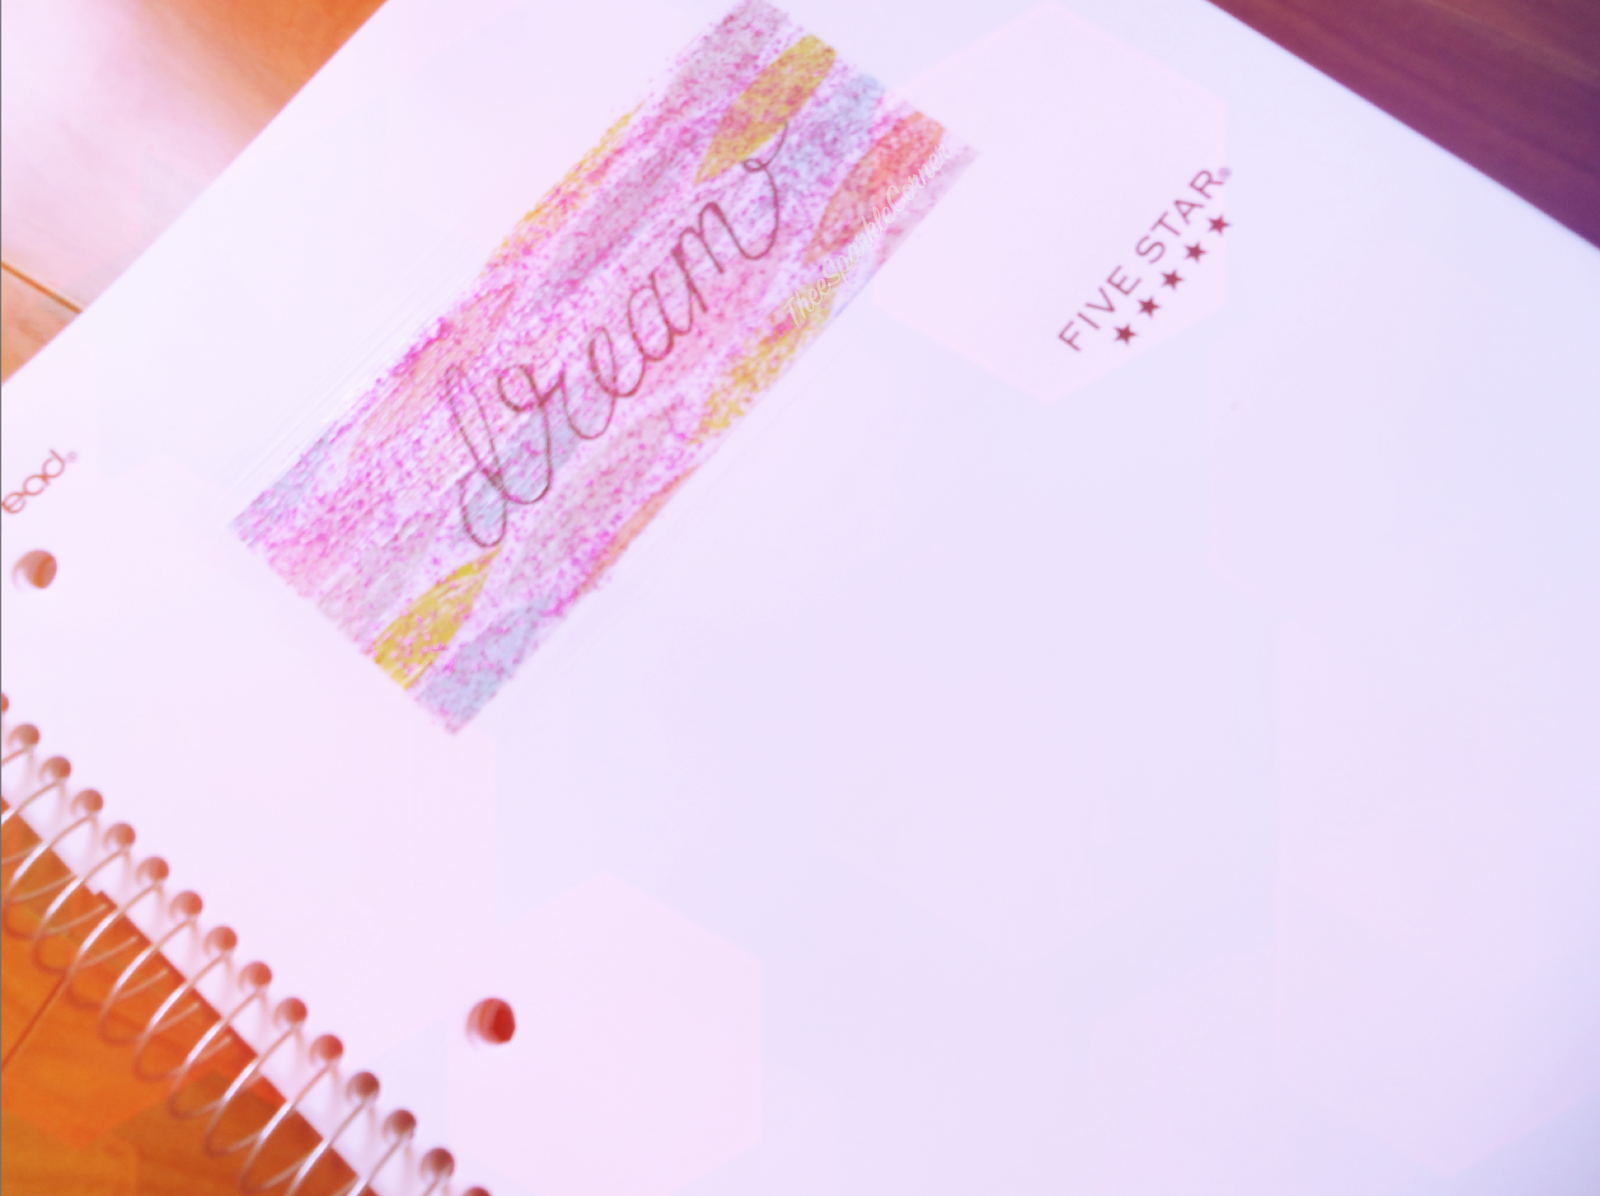
1. Choose the design/picture/wallpaper you want to print onto the label paper. I googled "tribal patterns," "vintage patterns," and "tumblr patterns" for the patterns I used shown in the picture. (Also, the rose wallpaper is by Lily Pulitzer)

2. Paste those pictures onto a word document and adjust the sizes.

3. Print!

4. Once you've printed them, cut the pictures out.

5. Write a word/quote on it with permanent pens/markers! Then, stick the label on your notebook cover.

6. Now, normally, this label is enough to be its own design. However, paper labels often wear down/collect dirt on the sides, so we're going to add a layer of Mod Podge to seal it. It also adds a layer of gloss on the label! KEEP IN MIND: Start from the middle, then work around the edges. When Mod Podge dries, it does dry clear BUT it leaves a shiny residue behind. So the edges should be somewhat neat! Also, paint in ONE DIRECTION! When it dries, the strokes will still be there!


7. Now, let the thin layer dry for about 15-20 minutes. After it dries, there might be a tiny few wrinkles. Just squeeze it out by running your hands across the label a few times. The air will drain out from the sides.

8. After drying, you can add a layer of glitter glue! After glitter glue, you're finished with the brush so go rinse that.

AND YOU'RE DONE!

Hope you guys enjoyed this little DIY! (Couldn't blog last week cause I caught a cold :))
Love you readers!
♡♡♡♡♡
~ Cathy


This comment has been removed by the author.
ReplyDeleteWow, I loved this Amazing post! I want to do this on my notebooks as well! Beautiful! Thank you so much! I hope I can do something like this!
ReplyDeleteNice information, valuable and excellent design, as share good stuff with good ideas and concepts, lots of great information and inspiration, both of which I need, thanks to offer such a helpful information here. notebook printing in Singapore
ReplyDeleteI have read a few of the articles on your website now, and I really like your style of blogging. I added it to my favorites blog site list and will be checking back soon. Please check out my site as well and let me know what you think. https://ishlandbbq.godaddysites.com/about
ReplyDelete